

Some people will never read an ebook, and I like to offer readers the choice of paperback, hardback or audio editions, all of which can be produced at no cost other than your time. I know the advice is to use professional designers, both for the cover and the interior, but I wanted complete control over the process, and interested to see what you can do using Vellum, Photoshop, and the KDP cover design tools:
Step 1. Make sure your manuscript is as good as it can possibly be before uploading to Vellum. Your starting point needs to be the edited version of your book, ideally in Word, with all the front matter, copyright wording, dedications, foreword etc. sorted. (I looked at a range of printed books by my favourite authors and copied the layout). It's easy to make any changes in Vellum - and the advantage of doing it yourself is you can make future changes in minutes (such as adding your new book at the back) at no cost. All you need to do then is produce the files from Vellum by clicking 'Generate':

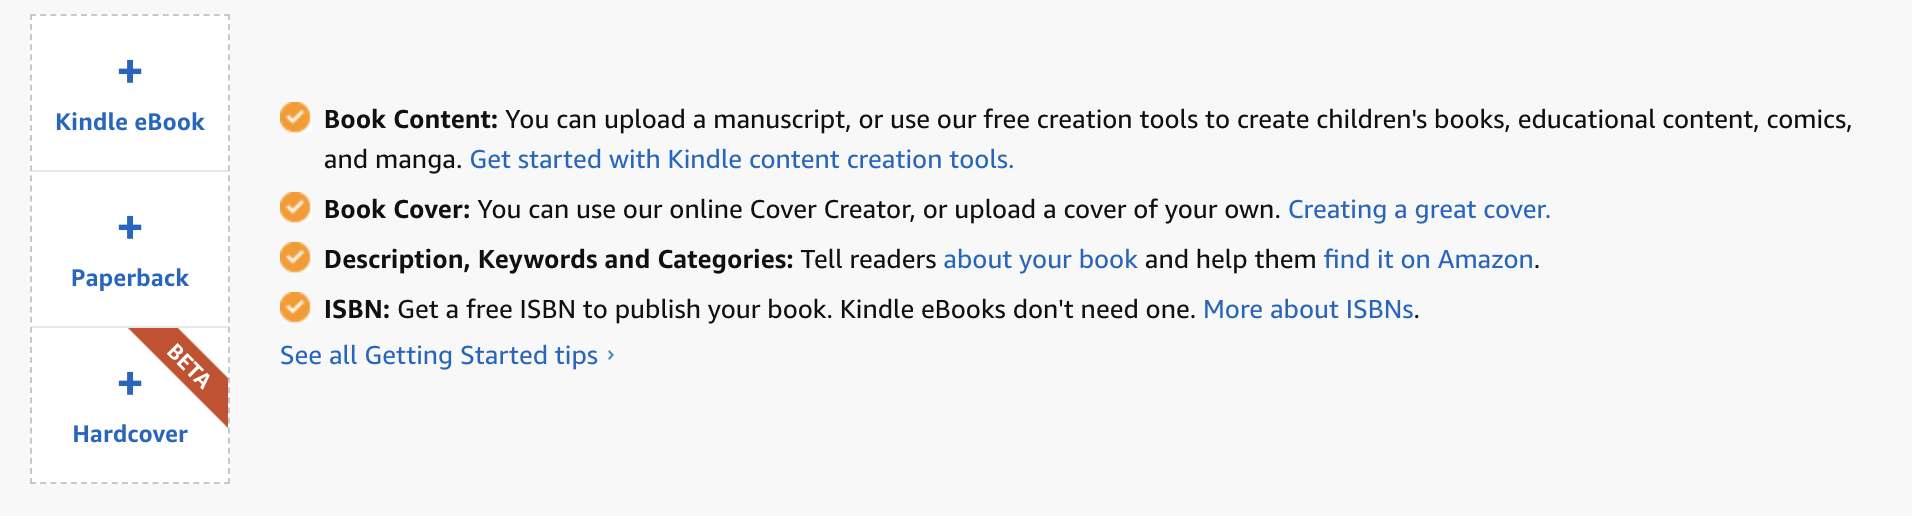
Step 2. If you have an eBook in KDP, go to Bookshelf and click on Create Paperback or Create Hardcover (which is in Beta but works well and is easy to use). If not, you can set up a free publishing account on Amazon KDP. The process is quick and easy, as the setup screen uses all the information from your eBook. There is plenty of help and guidance if you need it, including links to articles on how to write an effective book description and some advice on titles and keywords. KDP cal also assign a free ISBN for your book.
Step 3. Upload the Interior content. I use the PDF created by Vellum (which is a single click process). Choose white or cream paper and matt or glossy cover,
Step 4. Use the online cover creator, and upload a jpg if you already have a great cover, or you can use an editing tool such as Photoshop to make any changes or fine adjustments. The ‘cover creator’ automatically formats the cover based on your book's size and page count. (You need to make sure nothing important touches the dotted guidelines, or your cover will be rejected.)
Step 5. Review the Proof of your book and update. (If you want any changes, you can go back to steps one or two before you invest in a published proof copy.)
Step 6. Decide your pricing and distribution. There is plenty of advice on book pricing strategies, much of it contradictory. I decided to set my paperback price at the market average. Then click 'Publish your book'.

This is well within the skills of anyone who has already created an eBook, and doesn’t cost anything other than the cost of your one copy, unless you pay for graphics or design. Happy publishing!
Tony Riches
See also: Using Vellum as a publishing tool
No comments:
Post a Comment
Thank you for commenting